Keep the manual within reach
Before disassembly, identify your airbrush model and the parts its manual allows you to remove. An airbrush cleaning kit does not confirm that every component should be dismantled after every session. Avoid treating an online general guide as a model-specific service instruction.
Make a place for each part
Use an appropriate stable work surface and keep removed parts in a known order, following the manual. This is an organization suggestion rather than a special feature of the kit. Keep clean components separate from used tools and cleaning fluid.
Select the contact tool deliberately
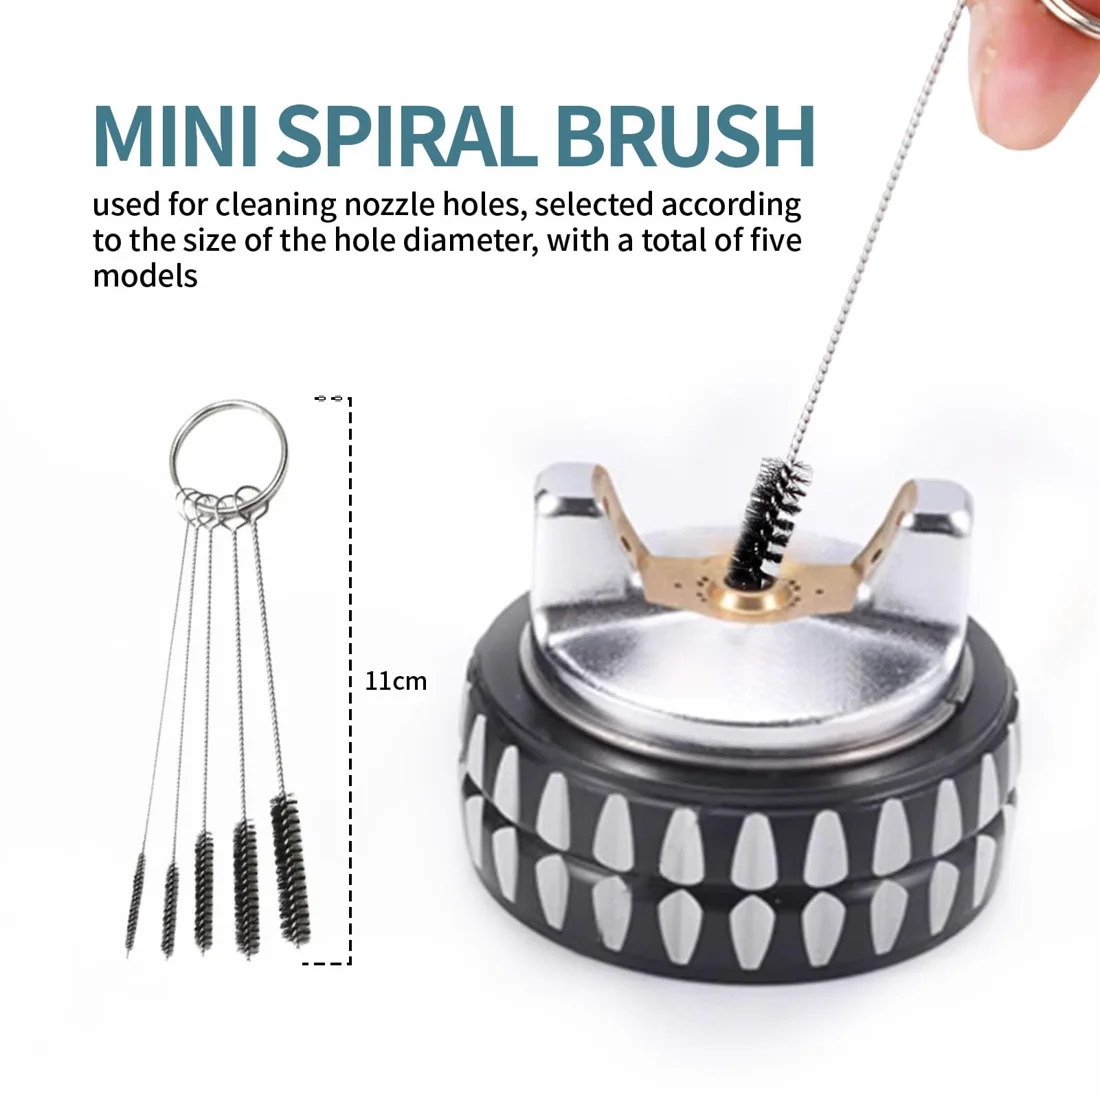
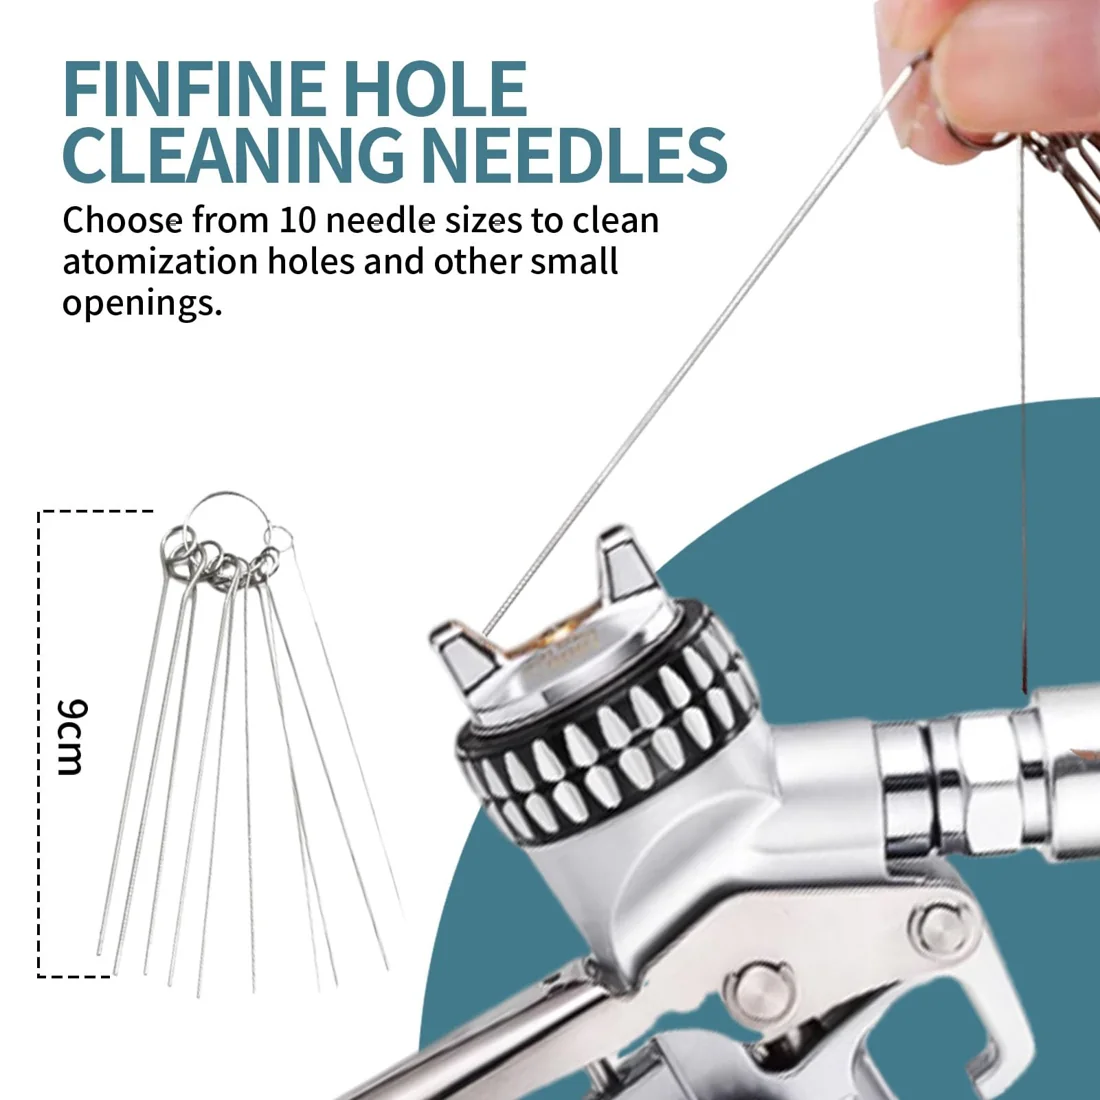
Airbrush cleaning brushes and metal cleaning needles have different contact characteristics. The documented PEHADU set includes five mini brushes and ten micro cleaning needles, but no confirmed diameter chart. Do not push a tool into a precision opening simply because it appears small.
The linked general maintenance reference provides workspace and small-parts context, not a model-specific airbrush procedure. Use actual dimensions and your own equipment instructions to decide fit.
Finish with a tool check
Inspect brushes and pins for visible distortion and residue before storing them as directed. The kit’s micro cleaning needles are not replacement airbrush fluid needles. If you need a special nozzle tool, seal or cleaning pot, check separately rather than assuming the 21-piece count covers it.
Use the cleaner-label guide when choosing a compatible fluid, then return to the studio overview for the complete reading route.